Essential cookies run the site. Analytics are optional.

Cookie policy
Installation · Step by step

Install it like a pro.

From a clean subfloor to the final vacuum — the exact process we use to lay a Heroturfs track flat, tight and wrinkle-free. No specialist crew needed.

5 steps

Simple process

0h wait

Install & use

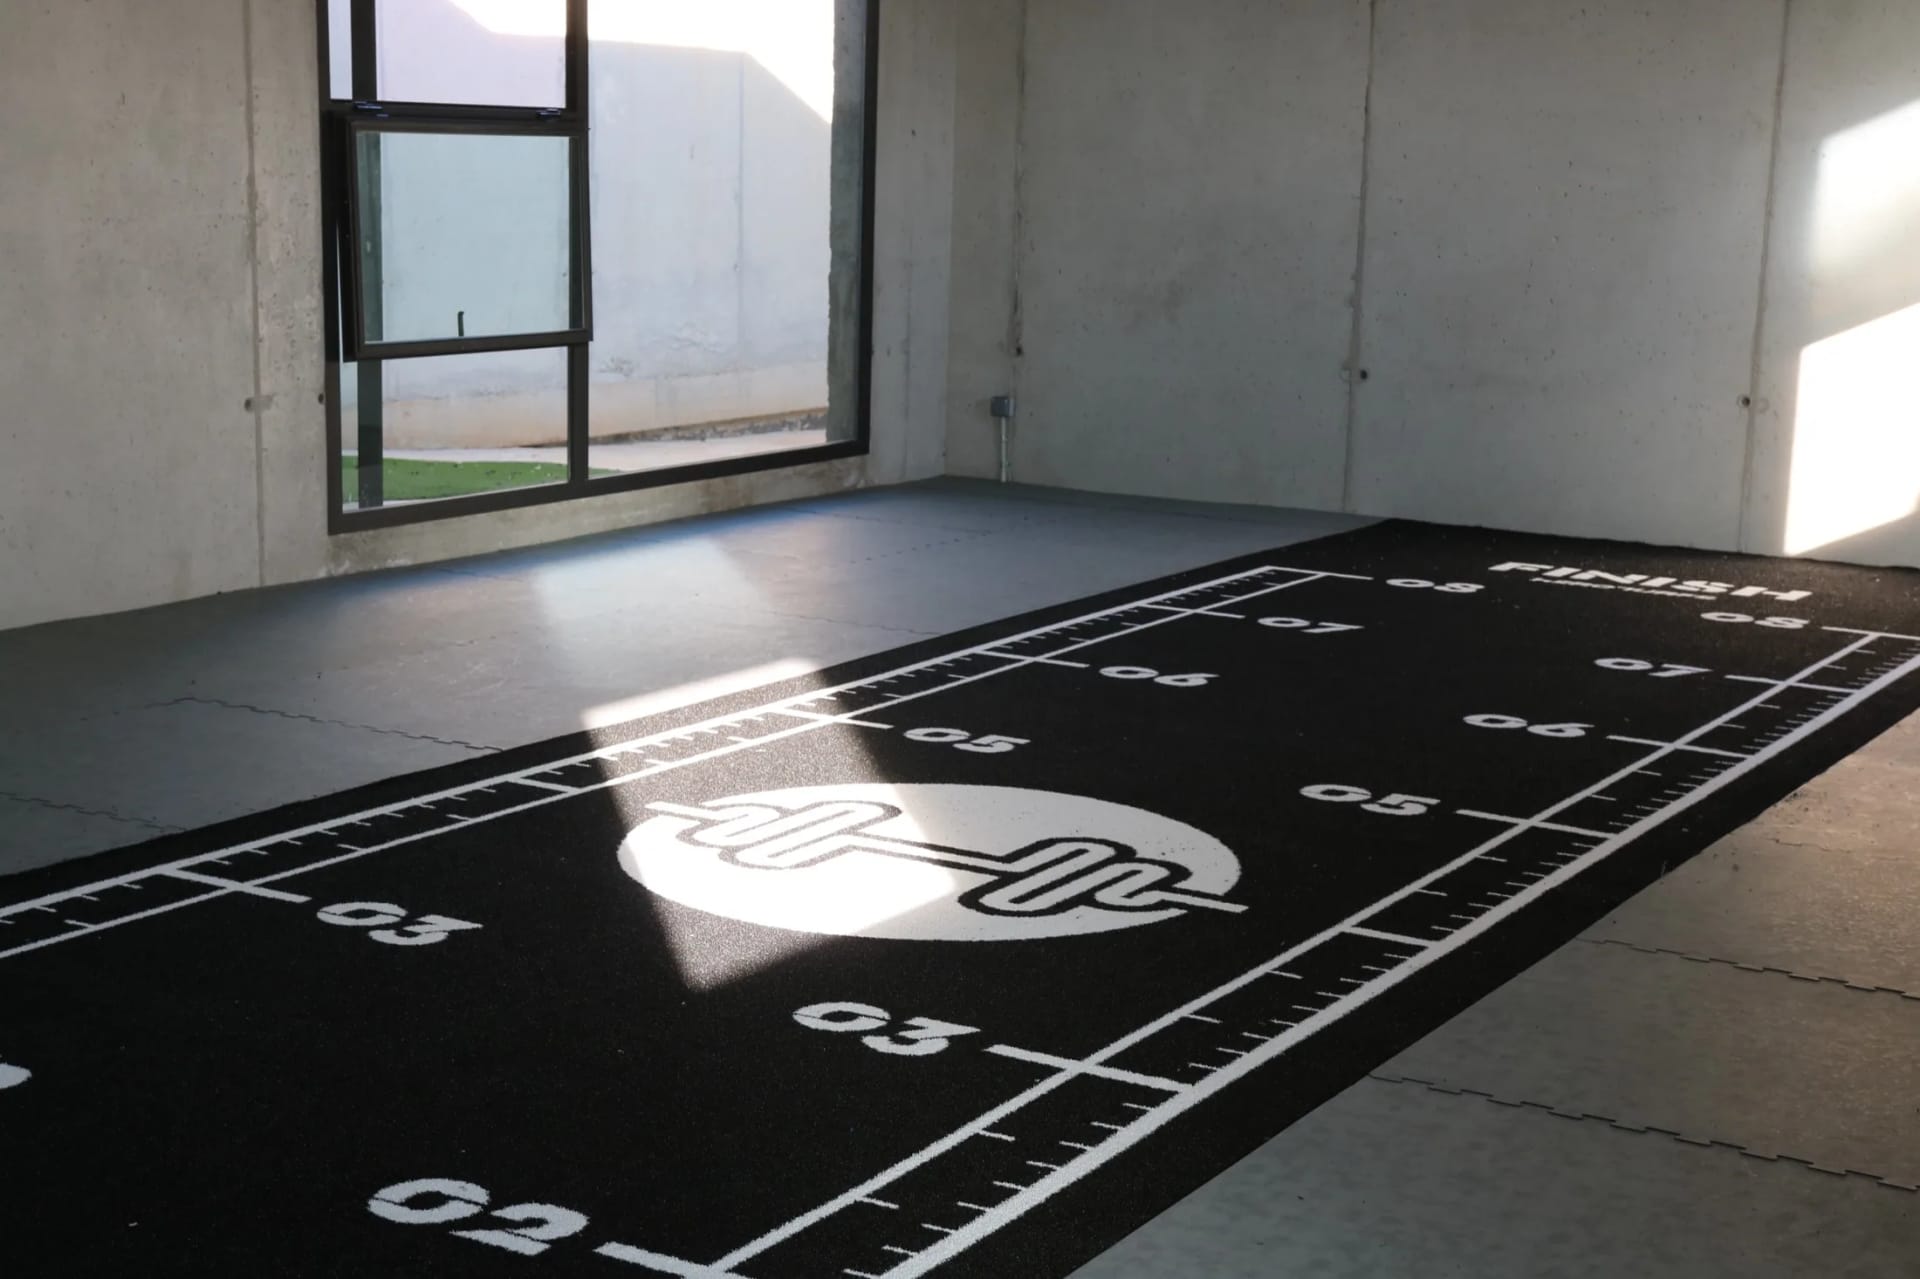
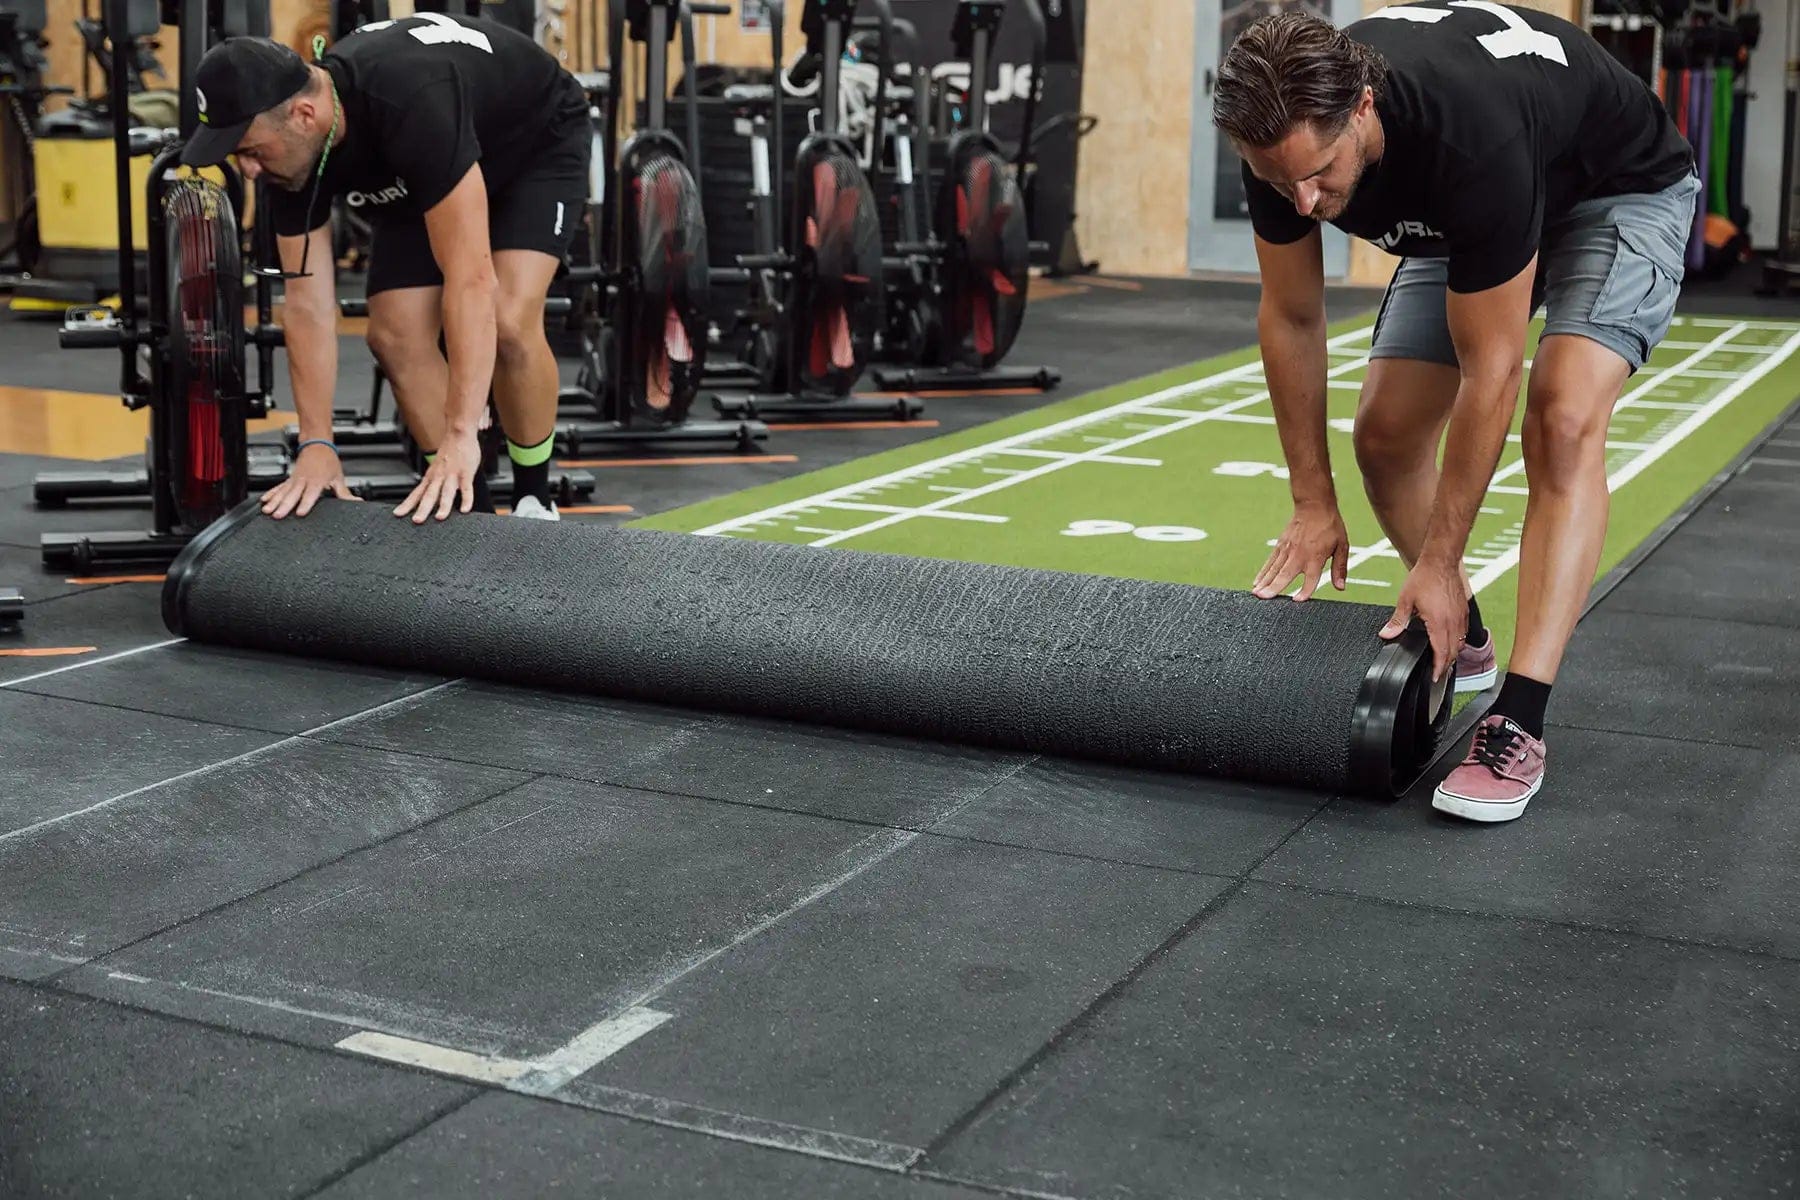
Heroturfs sports turf track delivered and laid out in a gym
When it arrives

Just got your track?

A few quick things to do the day it lands — so when you're ready to fit it, everything goes smoothly. Most installs are a one-afternoon job for two people.

  • Inspect on arrivalunwrap the track and check the fibres and markings before your install day.
  • Let it rest 24 hunroll the track and leave it to settle so it recovers its shape before fitting.
  • Check your measurementsdry-lay the piece and confirm the fit against the space.
  • Multi-piece trackswide rolls (over 4 m) come in several pieces and can shift slightly, so the seams need squaring up. For these we'd recommend a professional installer to line it up before fitting.
Need the right tape? Shop accessories →
The process

The 5-step install.

Tap a step for the photo and the full how-to.

5 steps, start to finish.

Tap any step for the photo and the full how-to.
Vacuuming the gym floor before turf installation

Start with a spotless subfloor: sweep and vacuum the whole area so there's no dust, sand or debris left behind. A clean surface is what lets the tape grip properly and stops the track lifting later.

Broom + vacuum

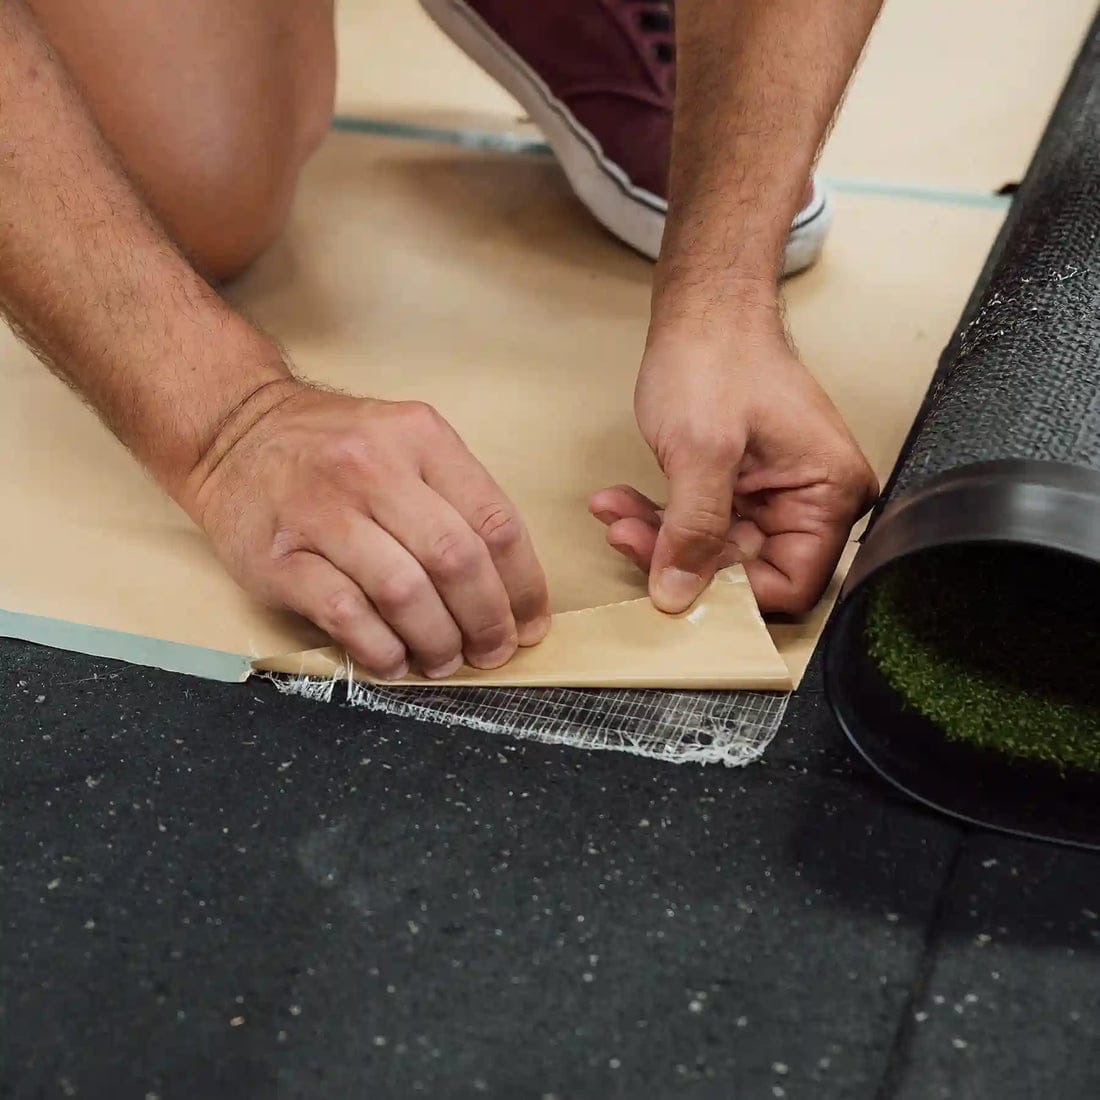
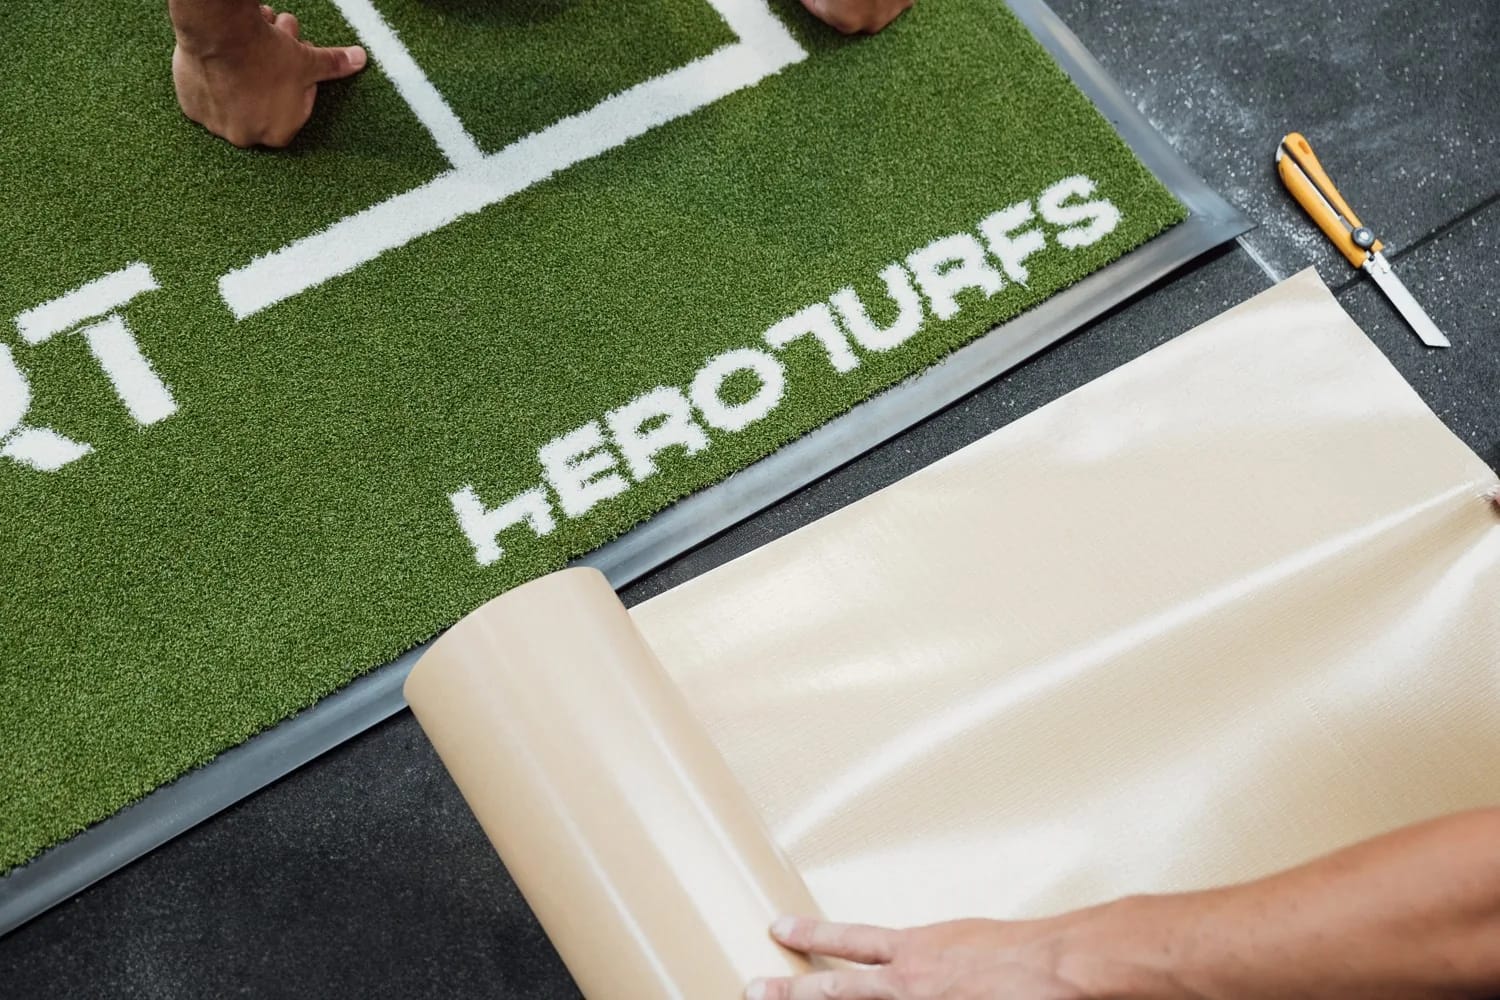
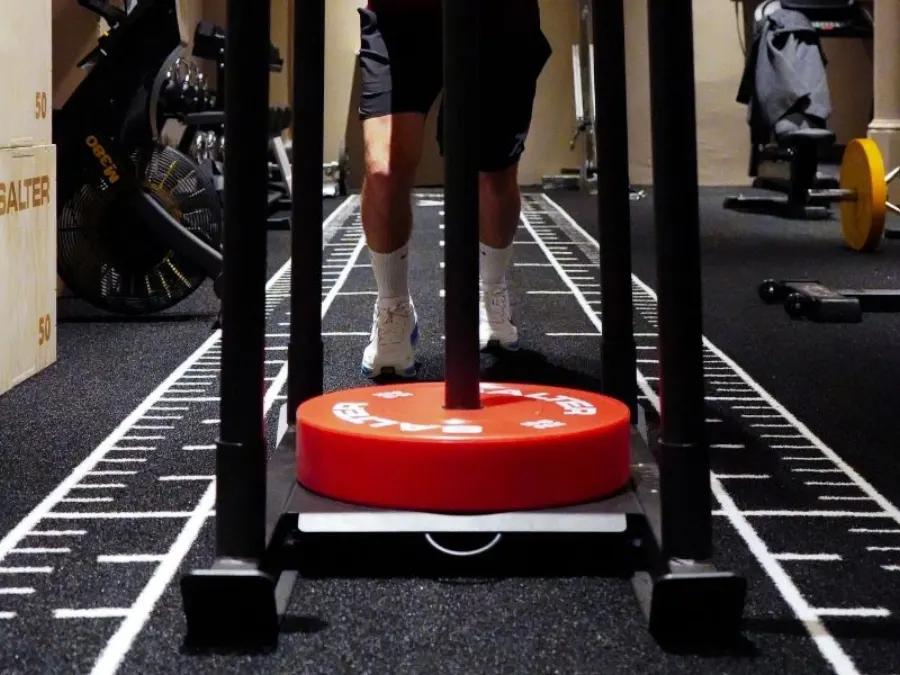
Lay every strip in the sled's direction. Run all the tape the same way the sled travels. Tape laid across the drag creates a ridge that brakes the sled and wears the fibres faster — so always align it with the pull.

What you'll need

Four tools, that's it.

Nothing specialist — most of it you already have. Only the tape is a must-buy.

Utility knife

A sharp cutter to trim the track and the tape clean to the edge.
Spatula

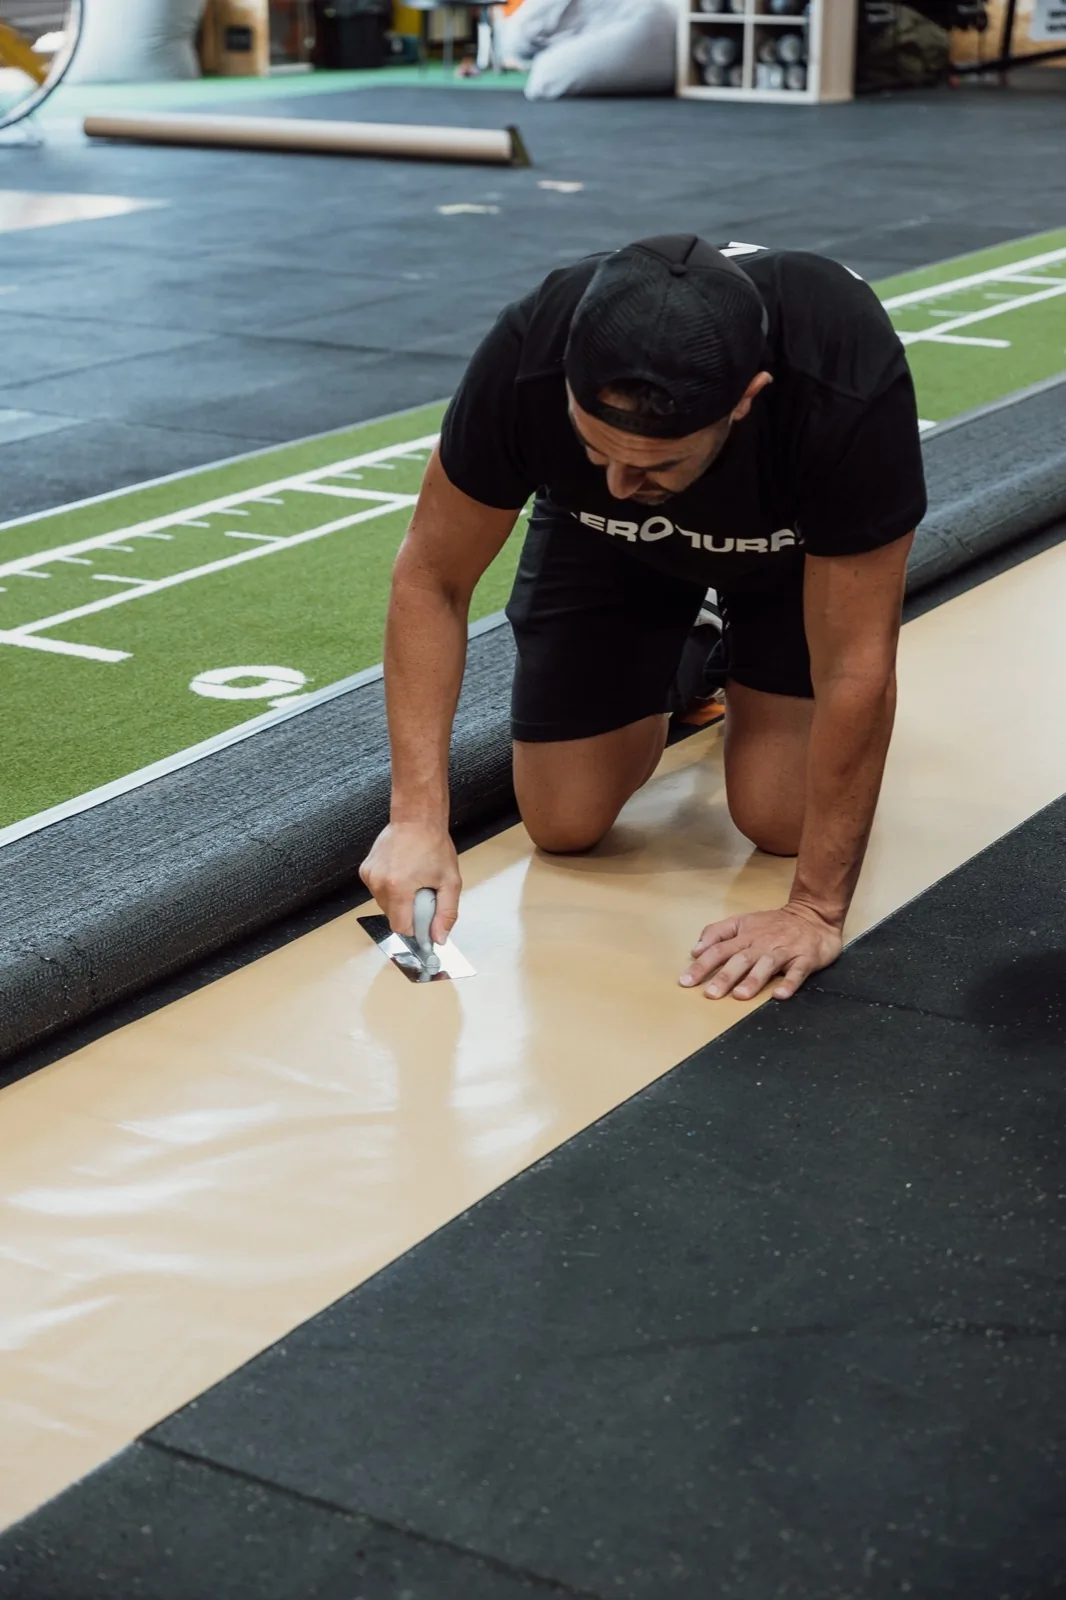
To press the track firmly onto the tape and chase out any air.

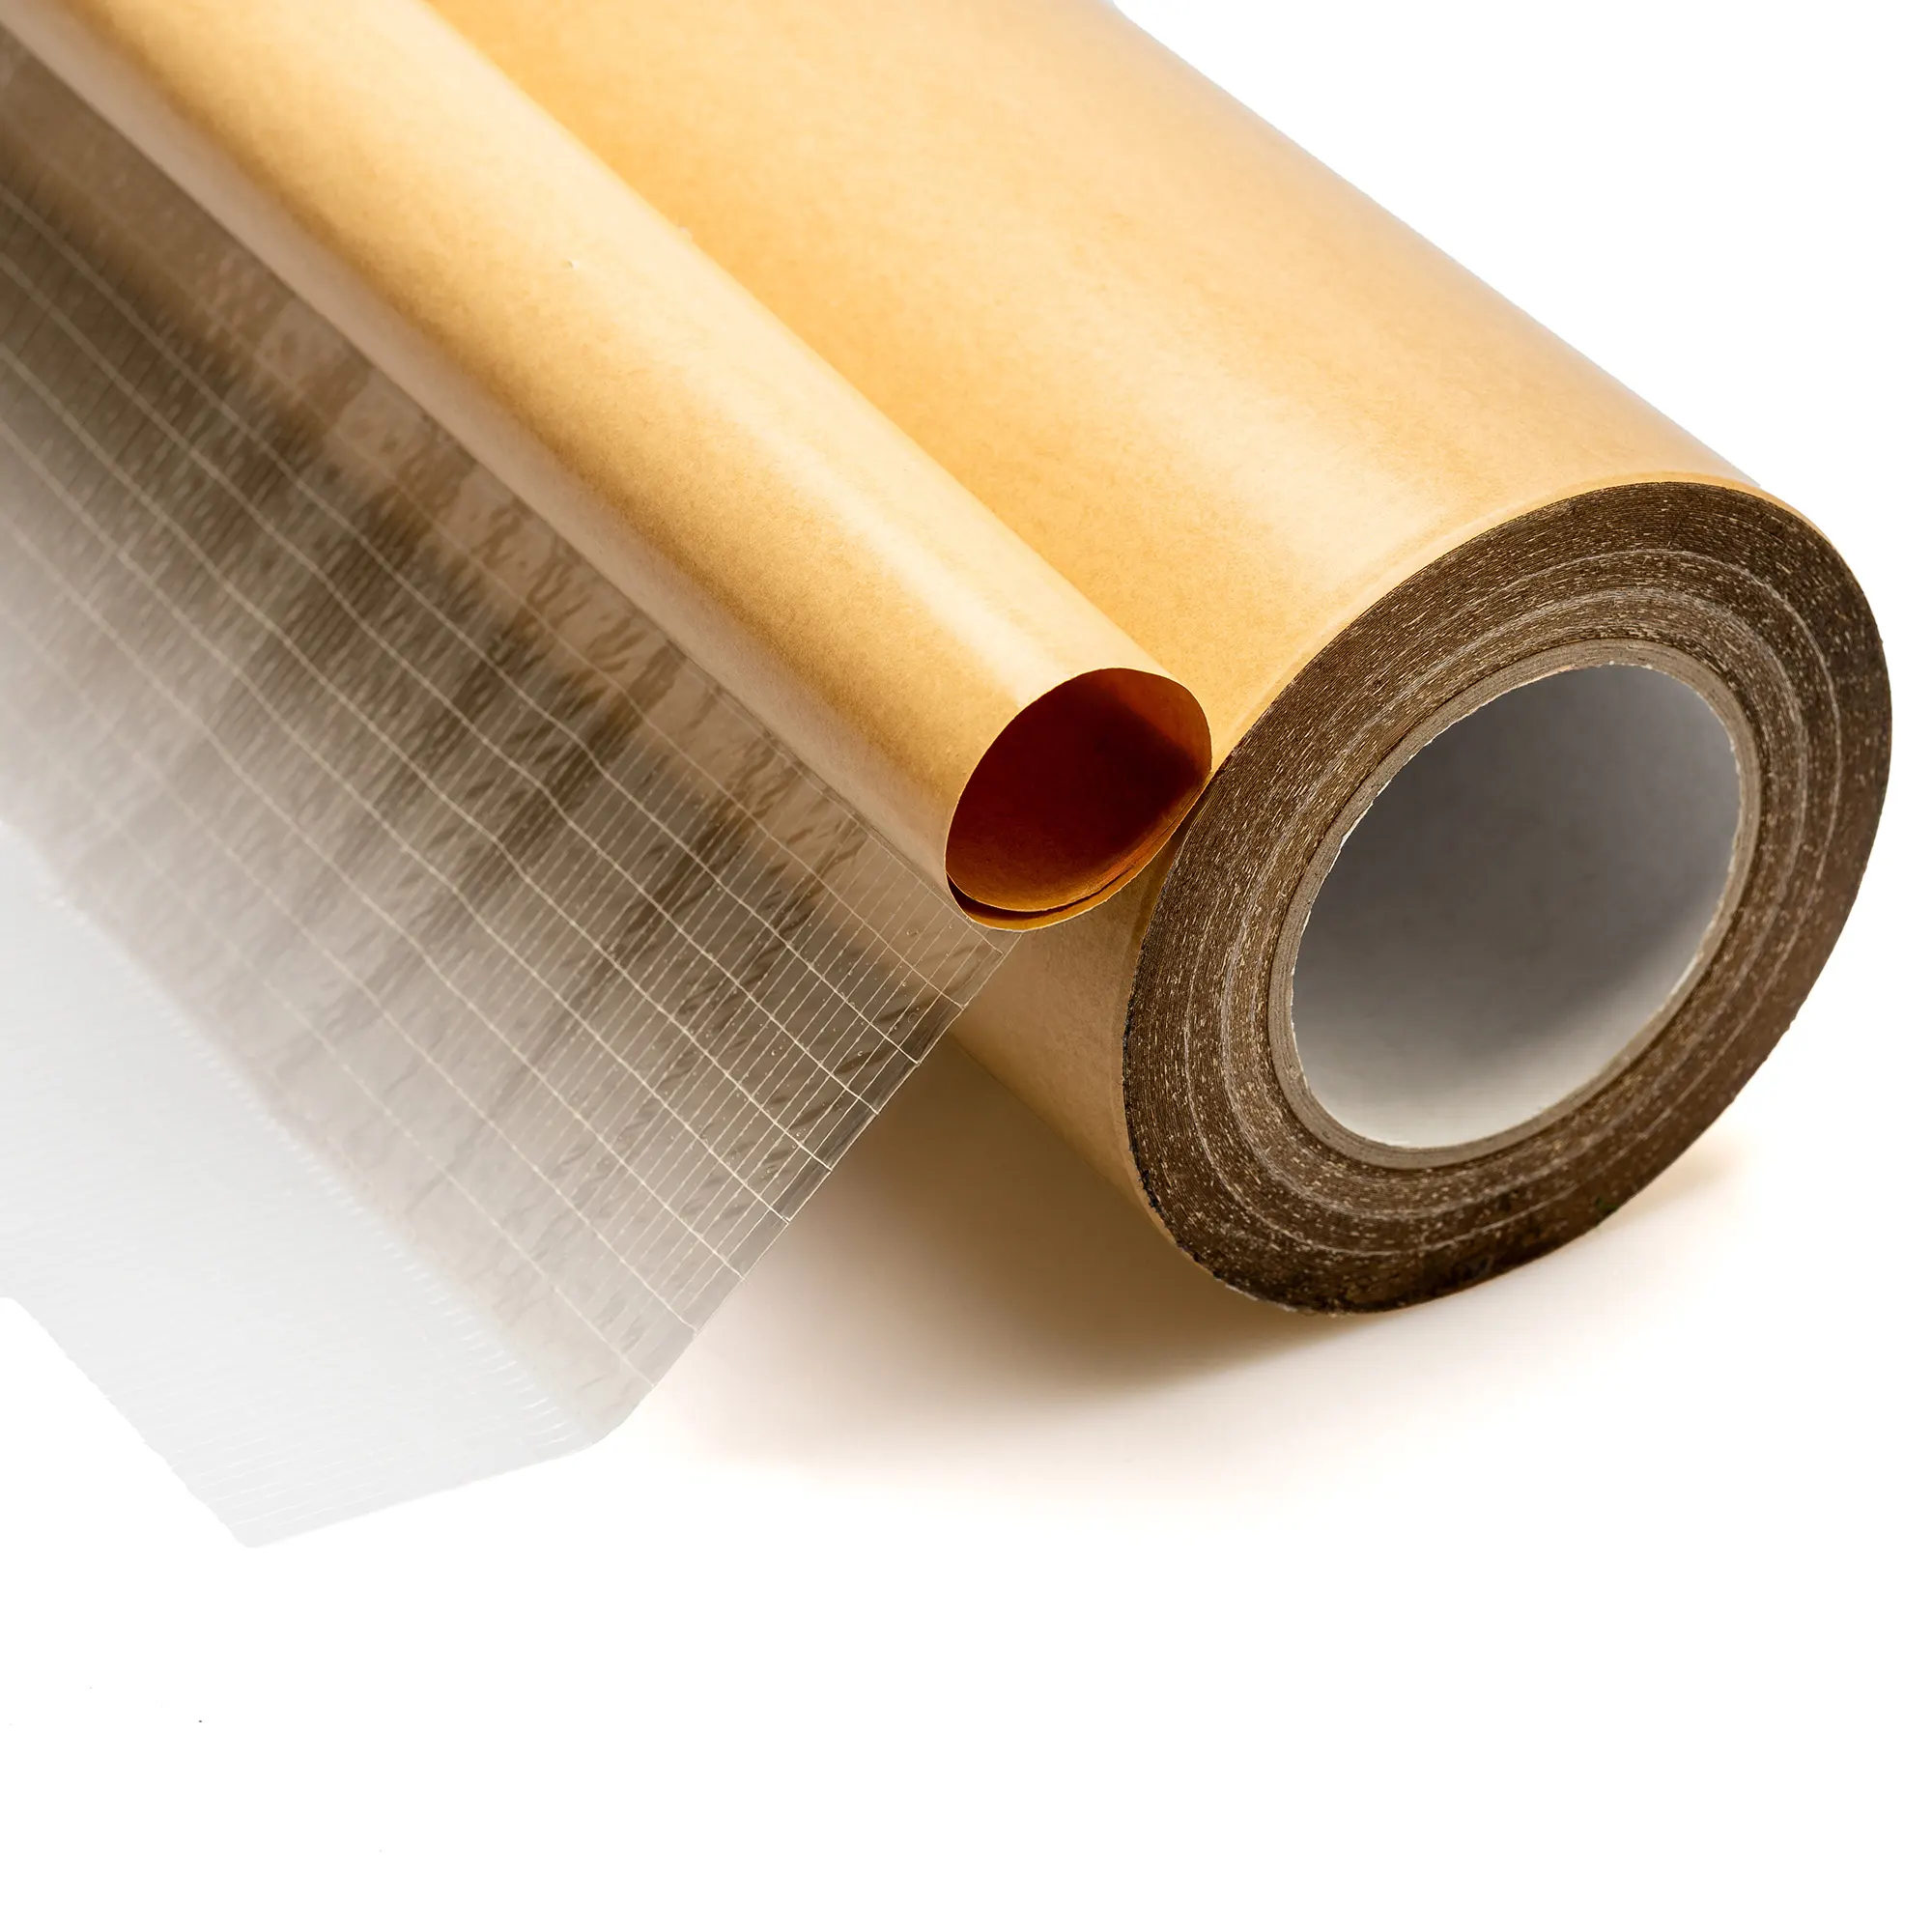
Endurance tape

Double-sided, pro-grade. Not sure how much? Use the tape calculator.

Adhesive(optional)

Extra glue for edges or tricky corners — only if your floor needs it.

FAQ

Installing your track:
everything you need to know

More questions about fitting your track — surfaces, tape or seams? We're one message away.

Ask us anything
Yes. It's five simple steps — clean the zone, mark it out, lay the tape, roll the track on and vacuum. No special training needed, and this guide walks you through each one.
Just four things: a sharp utility knife, a spatula to press the track down, Endurance double-sided tape — and extra adhesive only if your floor needs it at edges or tricky corners.
Tape the full underside of the track, edge to edge — not just the perimeter — so it stays locked flat under sled work. Our tape calculator tells you the exact rolls for your track size.
Almost any clean, dry, level floor. Preparation is what matters most — sweep and vacuum the area first so the adhesive can grip properly.
Yes — the turf is fully built for outdoor use. Just make sure the base is bonded down completely, and bear in mind that in hot climates the heat softens the turf, which adds drag and makes the sled harder to pull.
Straight away. With tape there's no curing or waiting time — once the track is pressed down and vacuumed, it's ready for sleds.
Usually not — the tape does the job on its own. Extra glue is only for edges or tricky corners, and only if your floor calls for it.
Multi-piece tracks are harder to square up perfectly, and a slight misalignment shows at the seam. For those we recommend a professional installer to line up the join.
We work with trusted installer partners across many regions and can put you in touch if you'd prefer a professional fit. Just ask us when you order.
Ready to install

We'll size it for your space.

Tell us your space and your sport — we make your track in Spain and ship it with the tape and a fitting plan, so it goes down flat the first time.